
![[Pre-Order] Neakasa Riko Fresh-Made Wet Meal Feeder](http://eu.neakasa.com/cdn/shop/files/neakasa_riko_main_2.webp?v=1788504690&width=104)
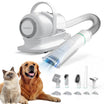
The Neakasa M1 self-cleaning litter box automatically separates clumps from clean litter, reducing the need for daily scooping. However, regular cleaning and maintenance are still essential to keep it working smoothly and help control odours. How often should you clean it? Which parts can you wash with water? And what can you do to keep the litter area fresh between deep cleans? This guide covers everyday checks, step-by-step cleaning instructions and practical maintenance tips to help you care for your M1 with confidence.
- Check regularly: Monitor litter levels, waste build-up and visible dirt, adjusting your cleaning routine to your cats’ usage.
- Empty the waste bin promptly: Replace the bag before waste accumulates excessively or odours become noticeable.
- Wash only removable, washable parts: Clean the litter chamber and waste bin separately. Never rinse or submerge the main unit.
- Dry thoroughly before reassembly: Air-dry the litter chamber with its opening facing upwards, and ensure all washed parts are completely dry.
- Follow the correct cleaning sequence: Complete the powered litter-emptying cycle first, then switch off and unplug the M1 before dismantling or washing.
Meet the Neakasa M1: Less Scooping, Easier Everyday Care
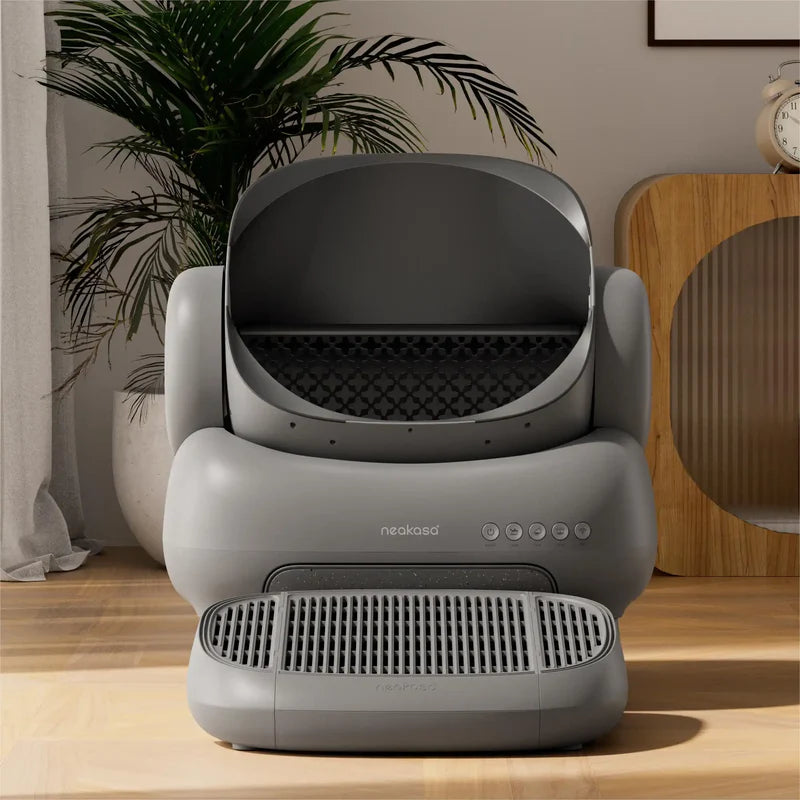
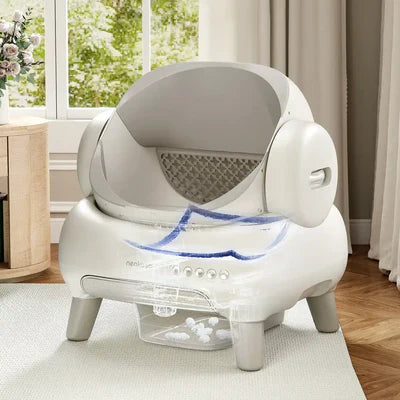
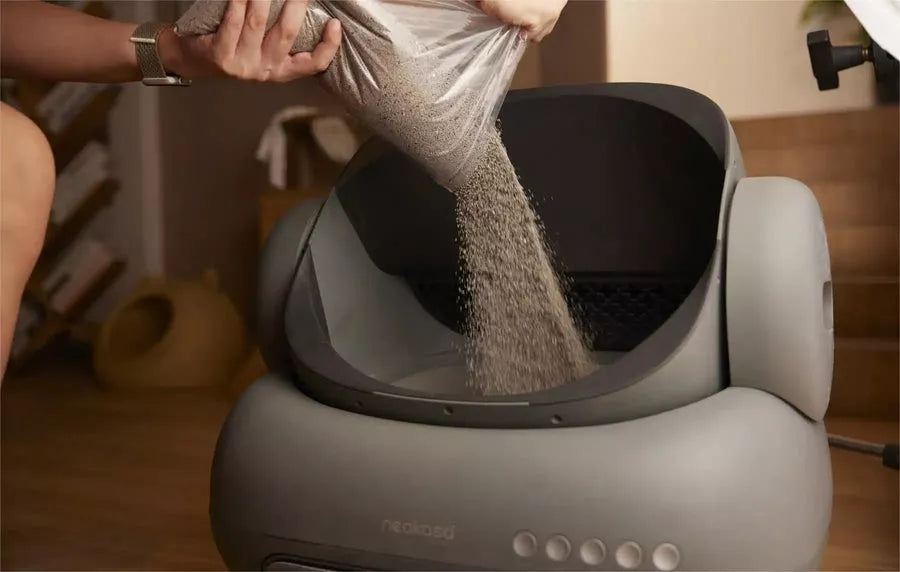
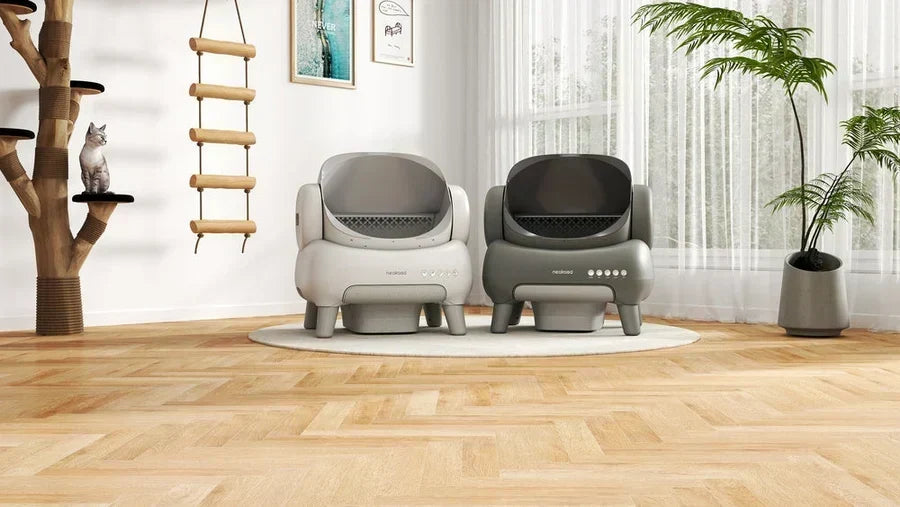
The Neakasa M1 Open-Top Self-Cleaning Cat Litter Box helps simplify your cat’s daily routine—and yours. Its automatic cleaning system separates clumped waste from clean litter, reducing the need for manual scooping. The open-top design gives your cat room to enter, turn around and find a comfortable position, while app connectivity lets you check usage and manage cleaning settings from your phone.
With regular maintenance, M1 helps keep litter care manageable and your cat’s space clean and welcoming.
Explore the Neakasa M1 and bring easier litter care into your home.

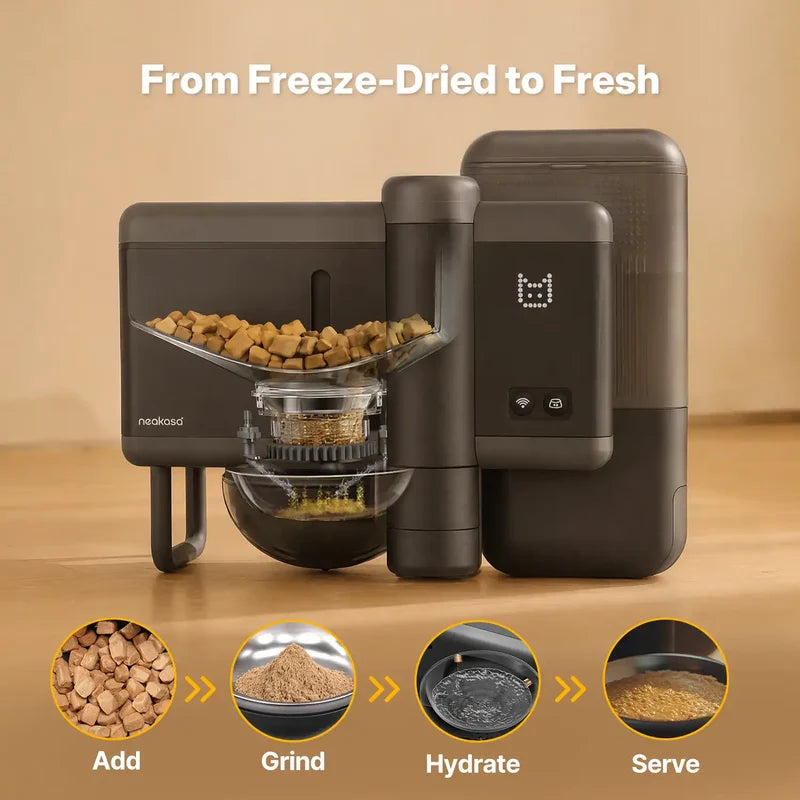
- Prepares fresh-made wet meals by grinding and rehydrating compatible freeze-dried food at mealtime.
- Customizes meal texture with an adjustable 1:1–1:5 water-to-food ratio.
- Supports precise 1–20 g portions and 20+ scheduled feedings per day through the app.
- Reduces frequent refilling with a sealed 3 L food container and 2.4 L water tank.
How Often Should You Clean Your Neakasa M1?
Your Neakasa M1 cleaning routine should reflect how many cats use it, how quickly waste builds up and the condition of the litter chamber. Use the following checklist to organise regular maintenance.
| Maintenance Task | When and What to Check |
|---|---|
| Daily checks | Check litter levels, visible stains, waste bin capacity and device alerts each day. |
| Emptying the waste bin and replacing the bag | Adjust frequency to your cats’ usage, waste accumulation and odours. Empty sooner when needed. |
| Deep cleaning the litter chamber | Follow your M1 manual’s recommended schedule, cleaning sooner if residue or persistent odours develop. |
| Cleaning the main unit and sensor areas | Remove dust, loose litter and dirt when noticed, following the manual’s cleaning instructions. |
| Inspecting accessories | During cleaning, check for visible wear, damage and incorrectly fitted parts. |
Maximum waste storage capacity is not a recommended bag-changing interval. Check more frequently in multi-cat households and during hot weather, rather than waiting until the bin is full.
What You’ll Need Before Cleaning
Gather a few essentials before you begin:
- A soft cloth and a soft-bristled brush
- Clean water for washing suitable removable parts
- Replacement waste bags
- Fresh, compatible cat litter
If you plan to use a cleaning product, check your M1 user manual first and use only a permitted type.
Complete the powered litter-emptying cycle before switching off and unplugging the M1. Once disconnected, you can begin dismantling and cleaning the removable parts according to the manual.
Set up another litter tray for your cat to use while the M1 is being cleaned and its washed components are drying.
How to Clean Your Neakasa M1 Step by Step
Before you begin, keep your cat away from the device and have your cleaning supplies ready. Follow the instructions for your specific M1 model when removing or reinstalling components.
Step 1: Empty the Litter Chamber
Check that the waste bin has enough room to collect the remaining litter. If necessary, empty it and fit a new waste bag before starting.
With the M1 still connected to power, use the litter-emptying function as directed in your manual. Allow the cycle to finish completely before proceeding. Do not try to remove the chamber while the device is moving.
Step 2: Switch Off, Unplug and Remove the Chamber
Once the litter-emptying cycle has finished and the M1 has stopped moving, switch it off and unplug the power supply.
Release the chamber’s side locking components as shown in your M1 manual, then carefully lift the chamber away from the main unit. Avoid forcing any part that does not release easily. Place the chamber on a stable surface for cleaning, keeping the electrical base away from water.

Step 3: Wash and Dry the Litter Chamber
Remove loose litter and gently loosen any clumps or residue with a soft-bristled brush. Rinse the washable chamber with clean water, paying attention to areas where dirt collects. If a cleaning product is needed, use only a type permitted by your manual and rinse away any residue.
Leave the chamber in a well-ventilated area with its opening facing upwards. Do not turn it upside down to dry, as water may collect in gaps. Wait until it is completely dry before reinstalling it.
Step 4: Clean the Waste Bin and Replace the Bag
Remove the used waste bag, close it securely and dispose of it according to local requirements. Clear away any loose waste, then wash the removable bin and allow it to dry completely.
Fit a fresh bag, smoothing it against the inside of the bin and securing it as instructed. Keep loose edges clear of the sensor area and moving parts, then check that the bin slides back into position correctly.

Step 5: Wipe the Main Unit and Check Sensor Areas
Use a soft, slightly damp cloth to wipe dirt and dust from the main unit’s exterior and accessible surfaces.
Never rinse or submerge the main unit: it contains electrical components. Avoid dripping water into openings or applying pressure to the waste transfer door. Check accessible sensor areas for dust or litter, and clean them using the method specified in your manual.

Step 6: Reassemble, Refill and Check Operation
Confirm that all washed components are completely dry. Refit the chamber, secure its locking components and reinstall the waste bin.
Add compatible fresh litter without exceeding the maximum fill line. Reconnect the power and follow your manual’s instructions for levelling or calibration, where required. Check the device status and confirm normal operation before allowing your cat to use the M1 again.
Simple Maintenance Between Deep Cleans
A few quick checks between deep cleans help keep your Neakasa M1 tidy and ready for everyday use.
- Check litter levels regularly. Top up with compatible litter when needed, keeping it below the maximum fill line so your cat has enough litter to dig and cover comfortably.
- Deal with visible dirt promptly. Remove scattered litter and spot-clean accessible stains, pausing and unplugging the device before reaching inside.
- Check the waste bag. Make sure it remains securely fitted, with no loose edges blocking sensor areas or interfering with moving parts.
- Keep the surrounding area clean. Shake out or clean the litter mat and sweep up litter around the device to reduce tracking through your home.
- Review device and app alerts. Respond to maintenance notifications, but continue checking the M1 in person. Alerts should complement your daily routine, especially in multi-cat households.
How to Reduce Odours and Litter Build-Up
Reducing odours starts with removing their source. Even with automatic scooping, waste and residue can accumulate in places that need regular attention.
- Replace waste bags promptly. Do not wait for the bin to reach capacity if you notice odours. Shorten the interval between bag changes during hot weather or when several cats share the M1.
- Check for lingering residue. Small deposits in the litter chamber or waste bin can contribute to persistent smells. Clean visible soiling rather than simply adding fresh litter on top.
- Let washed parts dry completely. Moisture left in the chamber or bin can cause fresh litter to stick and make the next clean more difficult.
- Clean beyond the device. Empty the litter mat and remove scattered litter or waste from the surrounding floor.
Consistent bag changes, targeted cleaning and a tidy litter area help keep odours manageable between deep cleans.
Common Cleaning Mistakes to Avoid
Avoid these common mistakes to help protect your Neakasa M1 and keep it working smoothly:
- Rinsing the entire unit. Only wash the removable parts identified as washable in your manual. Keep water away from the electrical base.
- Scraping with harsh tools. Stiff brushes and sharp objects can damage surfaces. Use a soft cloth or soft-bristled brush instead.
- Reassembling damp parts. Allow all washed components to dry completely before putting them back.
- Fitting the waste bag incorrectly. Secure the bag and keep loose edges clear of sensors and moving parts.
- Overfilling with litter. Stay below the maximum fill line to avoid interfering with operation.
- Dismantling internal components. Do not attempt to take apart motors or electronics. Follow the manual and contact Neakasa support when needed.
M1 Replacing Accessories
| Accessory | Recommended Frequency | Notes |
|---|---|---|
| Silicone Pad | Every 6 months | Durable but can scratch from cat claws |
| Waste Bags | 1 roll per season | Replace regularly for a clean cycle |
Frequently Asked Questions
How often should I deep clean my Neakasa M1?
Follow the cleaning schedule in your M1 manual, adjusting it to your cats’ usage. Clean sooner if you notice residue, persistent odours or significant soiling.
Which parts of the Neakasa M1 can be washed with water?
The removable litter chamber and waste bin can be washed according to the manual. Never rinse or submerge the main unit, which contains electrical components.
What cleaning products can I use?
Use clean water and a soft cloth or soft-bristled brush. If you need a cleaning product, check your manual for permitted types and rinse away any residue.
How should I dry the litter chamber after washing?
Place it in a well-ventilated area with the opening facing upwards. Avoid drying it upside down, and wait until it is completely dry before reinstalling.
Why does my M1 still smell after cleaning?
Check for remaining residue, an overdue waste bag, trapped moisture or dirt on the surrounding floor and litter mat. These areas can retain odours even after the chamber has been washed.
What should I check if my M1 does not work normally after cleaning?
Check the power connection, component placement, waste bag position and litter level. Review any device or app alerts and follow the manual’s troubleshooting guidance. If the issue persists, contact the Neakasa Support Centre.
Keep Your M1 Clean and Ready for Everyday Use
Daily checks, timely waste bag changes and regular deep cleaning help keep your Neakasa M1 working smoothly and your cat’s litter area welcoming. By making these simple habits part of your routine, you can manage odours and prevent residue from building up between washes.
Give your M1 a little regular care, then enjoy the convenience of less scooping and more time with your cat.
- Fresh-made wet meals: Grinds and rehydrates compatible freeze-dried food at mealtime.
- Adjustable meal texture: Tailor each meal’s consistency with a water-to-food ratio ranging from 1:1 to 1:5.
- Flexible feeding schedules: Set 1–20 g food portions and schedule 20+ meals a day through the app.
- Fewer refills: A sealed 3 L food container and 2.4 L water tank keep food and water ready for scheduled meals.

Leave a comment
All comments are moderated before being published.
This site is protected by hCaptcha and the hCaptcha Privacy Policy and Terms of Service apply.